Setting the time on a grandfather clock may seem daunting, but it’s a straightforward process with the right guidance. In this article, we’ll walk you through “How to Set the Time on a Grandfather Clock” with easy-to-follow steps. Whether you’re a clock enthusiast or a first-time owner, understanding this process is crucial for maintaining your clock’s accuracy and longevity. We’ll cover everything from preparing your clock to synchronizing its chimes, ensuring it keeps perfect time. Our guide is designed to be practical, informative, and beginner-friendly, helping you enjoy the beauty and precision of your grandfather clock. Dive in and discover the simple steps to keeping your watch running smoothly.
How to Set The Time on a Grandfather Clock: A Step-by-Step Guide
- Prepare the clock: Ensure the clock is level and stable before starting.
- Stop the Pendulum: Safely stop the pendulum to prevent damage during time adjustment.
- Move the Minute Hand: Adjust the time by moving the minute hand clockwise only.
- Synchronize the Chimes: Align the chimes with the correct time to ensure they sound accurately.
- Restart the Pendulum: Gently restart the pendulum, making sure it swings evenly.
- Fine-tune the timekeeping: Adjust the pendulum length to keep accurate time.
- Regular Maintenance: Clean, oil, and protect the clock; schedule annual professional checks.
Understanding the Components
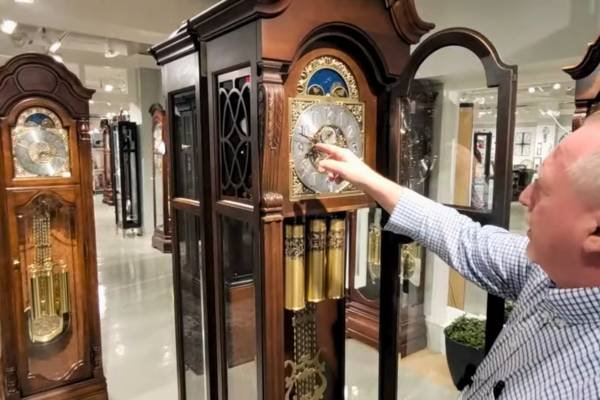
Understanding the components of a grandfather clock is essential for accurate time setting. A grandfather clock consists of various parts, including weights, the pendulum, and chimes. The weights drive the watch mechanism, the pendulum regulates the timekeeping, and the chimes mark the hours. Each component plays a crucial role in the watch’s operation. Familiarizing yourself with terms like escapement, movement, and winding arbor will make the process easier. By knowing how these parts interact, you’ll be better equipped to set the time correctly and maintain your watch’s accuracy. This knowledge ensures your grandfather’s clock remains a beautiful and precise timepiece.
Preparing the Clock
Preparing your grandfather clock is the first crucial step in setting the time accurately. Start by ensuring the clock is level; use a carpenter’s level to check both front-to-back and side-to-side alignment. Next, check the stability of the watch to prevent any tilting or wobbling that could affect its mechanism. Ensure all parts, including the weights, pendulums, and chimes, are in good condition and properly installed. This preparation not only facilitates accurate time setting but also ensures the longevity and smooth operation of your grandfather clock, providing years of reliable service and timeless beauty.
Stopping the Pendulum
Stopping the pendulum is a crucial step in setting the time on a grandfather clock. To do this safely, gently hold the pendulum and bring it to a complete stop. This step is necessary to prevent damage to the watch’s internal mechanisms during the time-setting process. Always handle the pendulum with care to avoid bending or damaging it. Ensure your hands are clean and dry to maintain the pendulum’s condition. By taking these precautions, you can safely stop the pendulum and proceed with setting the time, ensuring your grandfather clock remains accurate and functional.
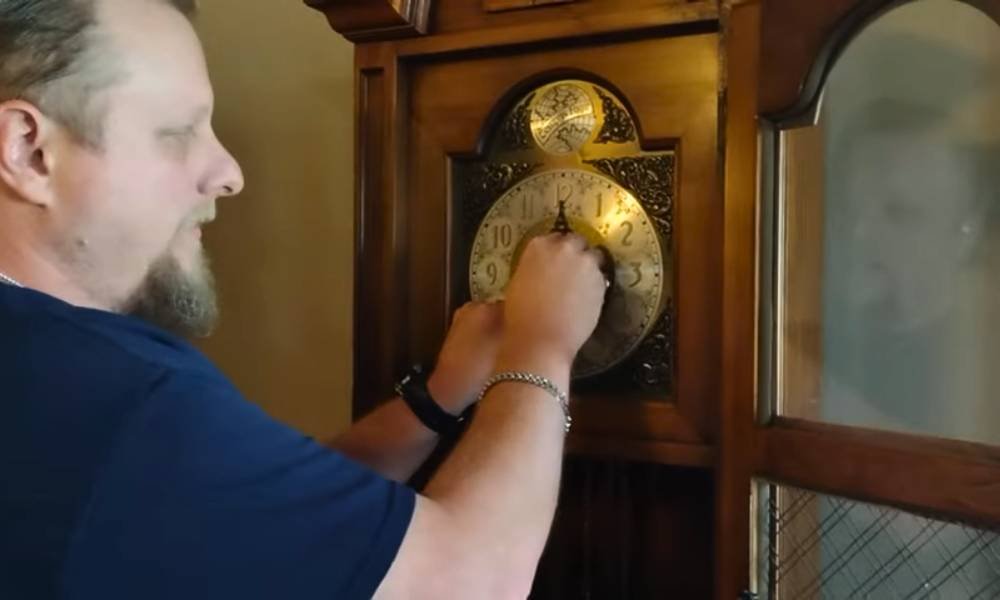
Adjusting the Time
Adjusting the time on a grandfather clock involves using the minute hand to set the correct time. Gently move the minute hand clockwise to the desired time, avoiding any backward movement to prevent damage to the watch’s mechanism. For accurate setting, stop at each quarter-hour mark to allow the chimes to complete their sequence. If the watch has a moon dial, ensure it is also adjusted correctly. This careful process ensures the clock remains in good working order and maintains precise timekeeping.
Synchronizing the Chimes
Synchronizing the chimes on your grandfather’s clock is essential for accurate timekeeping. To match the chimes with the correct time, start by stopping the pendulum. Adjust the chime mechanism carefully, ensuring each chime corresponds to the correct hour. If the chimes are out of sync, move the minute hand to the next quarter-hour and listen for the chime. Repeat this until the chimes match the watch hands. Double-check to ensure the chimes are perfectly synchronized with the time displayed. Properly synchronized chimes enhance the clock’s charm and ensure a precise and enjoyable timekeeping experience.
Restarting the Pendulum
Restarting the pendulum on a grandfather clock is crucial for accurate timekeeping. Begin by gently pushing the pendulum to start its swing. Ensure the pendulum swings evenly by listening for a steady, rhythmic tick-tock sound. If the pendulum doesn’t swing smoothly, check for obstructions and adjust the watch’s level. Troubleshooting common pendulum issues includes ensuring the clock is on a stable surface and verifying that all components are properly aligned. Regularly maintaining the pendulum’s swing will help keep your grandfather clock running accurately and efficiently, preserving its beauty and functionality.
Tuning the Timekeeping
Fine-tuning the timekeeping of your grandfather clock involves adjusting the pendulum length for optimal accuracy. To start, make small adjustments to the pendulum to regulate the clock’s speed. Regular monitoring is essential; check the watch weekly to ensure it maintains accurate time. If you notice any discrepancies, make slight adjustments as needed. Consistent timekeeping requires ongoing attention, so set a routine to inspect and fine-tune your watch. This proactive approach ensures your grandfather clock remains a reliable timekeeper, adding charm and functionality to your home. Remember, precision in these adjustments leads to the best performance.
Maintenance Tips
Fine-tuning your grandfather clock is essential for accurate timekeeping. Regularly clean and oil the clock’s moving parts to ensure smooth operation. Protect your watch from extreme temperatures and humidity to prevent damage. Additionally, schedule professional maintenance checks annually to address any wear and tear. These simple yet crucial steps will keep your watch in optimal condition, ensuring it remains a beautiful and functional timepiece for years to come. By following these fine-maintenance tips, you’ll preserve the longevity and precision of your grandfather clock, making it a cherished heirloom.
FAQs for How to Set The Time on a Grandfather Clock
1. Can I move the clock hands backward to set the time?
✅No, always move the minute hand clockwise to prevent damaging the watch’s mechanism.
2. How do I synchronize the chimes with the time?
✅After setting the time, move the minute hand to the hour and listen to the chimes. Adjust the chime mechanism if necessary to match the correct hour.
3. What should I do if the clock runs fast or slow after setting the time?
✅Adjust the pendulum length. Raising it will speed up the watch, while lowering it will slow it down.
4. How often should I clean and oil my grandfather’s clock?
✅Regularly clean and oil the watch every 2-3 years, or as recommended by a professional clockmaker.
5. Is professional maintenance necessary for a grandfather clock?
✅Yes, annual professional maintenance checks are essential to address wear and tear and ensure the clock’s longevity.
Conclusion
In conclusion, knowing “How to Set the Time on a Grandfather Clock” is essential for maintaining its accuracy and longevity. By following the steps outlined in this guide, you can ensure your watch runs smoothly and keeps perfect time. Regular maintenance, such as cleaning, oiling, and professional checks, will keep your watch in optimal condition. Protecting it from environmental damage is also crucial. With these tips, your grandfather clock will remain a reliable and beautiful centerpiece in your home. Mastering this process not only preserves its functionality but also enhances its value as a cherished heirloom for generations.