Setting an atomic wall clock may seem daunting, but it’s simpler than you think. In this guide, we’ll walk you through the process of “How to Set an Atomic Wall Clock” step by step. Atomic clocks offer unparalleled accuracy, syncing with national time signals to ensure precise timekeeping. Whether you’ve just purchased a new clock or need to recalibrate an existing one, our comprehensive instructions will help you achieve perfect synchronization. Learn about powering up, manual adjustments, and troubleshooting common issues. With our expert tips, you’ll master the setup in no time, enjoying the convenience and reliability of your atomic wall clock. Let’s get started!
Quick Guide: How to Set an Atomic Wall Clock
- Power Up- Insert batteries or connect to a power source.
- Initial Sync- Place near a window and wait for automatic time signal sync.
- Manual Setting (if needed)- Follow the user manual to set the time manually.
- Adjust Settings- Configure alarms, time zone, and daylight saving time.
- Maintenance- Replace batteries regularly and keep the clock clean.
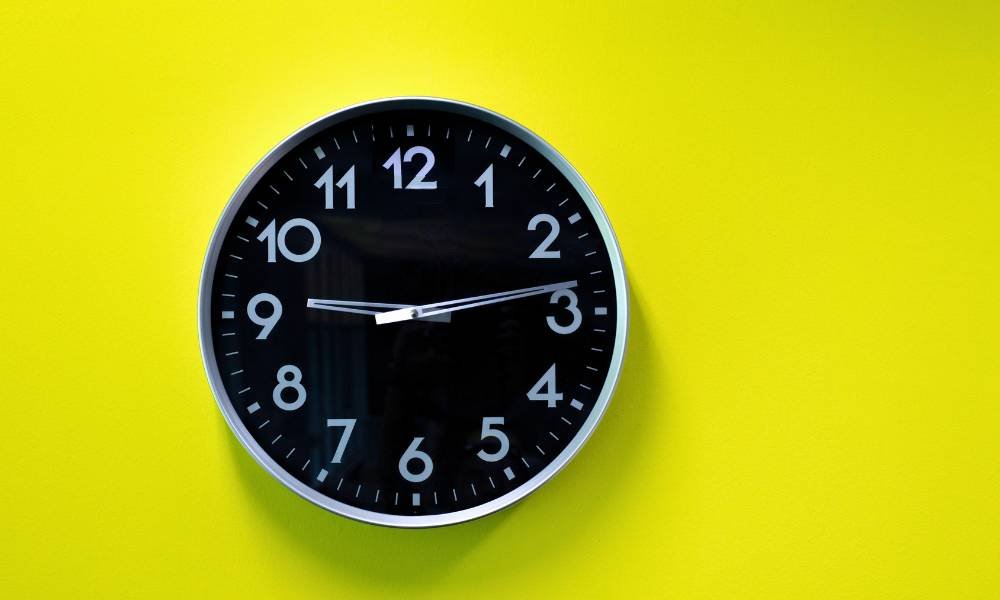
Understanding Atomic Clocks
Atomic clocks are highly precise timekeeping devices that use the vibrations of atoms to measure time. Unlike traditional watches, which rely on mechanical movements or quartz crystals, atomic clocks sync with radio signals transmitted by national timekeeping institutions. This ensures that atomic clocks maintain accuracy to within a fraction of a second. The main benefit of using an atomic clock is its unmatched precision, which is essential for tasks requiring exact timing, such as scientific research, navigation, and telecommunications. Additionally, atomic clocks automatically adjust for daylight saving time and time zone changes, providing hassle-free and reliable timekeeping for users.
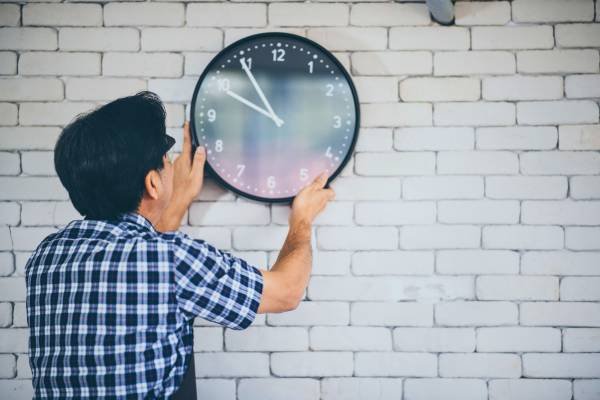
Unboxing and Initial Setup

Unboxing your atomic wall clock safely is the first step to accurate timekeeping. Start by carefully removing the packaging materials to avoid any damage. Inside the box, you’ll find the watch, a user manual, and any necessary accessories like mounting hardware or batteries. Take a moment to review the user manual for specific instructions. Check all components to ensure nothing is missing. Familiarize yourself with the clock’s features, including the display, control buttons, and any additional functions. Understanding these components will make the setup process smoother. Now, you’re ready to proceed with powering up and setting your atomic wall clock for precise timekeeping.
Powering Up
Powering up your atomic wall clock is straightforward. Begin by inserting the recommended batteries into the designated compartment, ensuring they are aligned correctly with the positive and negative terminals. For models with an AC adapter, connect it securely to a power source. Ensure a stable connection to avoid disruptions in timekeeping. Check that the battery compartment cover is firmly closed to prevent any loose connections. If using an adapter, ensure it’s plugged into a reliable outlet. A stable power connection is crucial for the watch’s accuracy and longevity. Properly powering your atomic wall clock sets the foundation for precise and reliable timekeeping.
Setting the Time Manually
Setting the time manually on an atomic wall clock is straightforward. First, locate the manual time-setting buttons, usually on the back or side of the watch. Press and hold the “Set” button until the time display starts flashing. Use the “Hour” and “Minute” buttons to adjust the time accurately. Once set, press the “Set” button again to confirm. To sync the watch to your correct time zone, find the time zone setting, often labeled as “TZ” or “Time Zone.” Adjust it to your specific region. This ensures your atomic clock will automatically align with the atomic signal, maintaining precise timekeeping for your location.
Automatic Time Synchronization
Automatic time synchronization is a key feature of atomic wall clocks, ensuring precise timekeeping. These clocks sync with national time signals transmitted by radio frequencies, automatically adjusting to the correct time. To initiate synchronization, simply power on the watch and place it near a window for the best signal reception. If your watch fails to sync, ensure it’s in an optimal location away from electronic devices that may cause interference. Additionally, check the batteries and replace them if needed. Should issues persist, refer to the manufacturer’s manual for specific troubleshooting steps. Automatic synchronization ensures your atomic wall clock remains accurate without manual adjustments.
Adjusting Additional Settings
Adjusting additional settings on your atomic wall clock is straightforward. Start by setting alarms to suit your daily schedule, ensuring timely reminders. Next, configure daylight saving time adjustments to keep your watch accurate throughout the year. Most atomic clocks adjust automatically, but verifying this feature can prevent errors. Explore other features like temperature display or backlighting for added convenience. Customizing the display settings enhances readability, allowing you to choose between 12-hour or 24-hour formats and adjust brightness levels. Follow the manufacturer’s instructions for precise adjustments, and enjoy a perfectly tailored timekeeping experience. Your atomic wall clock will now cater to all your personal preferences seamlessly.
Maintenance and Troubleshooting
Maintaining your atomic wall clock ensures its longevity and accuracy. Regularly replace the batteries to avoid power interruptions. Keep the watch clean and dust-free, especially around the sensors. If your clock isn’t syncing, check for obstructions blocking the signal. Place it near a window for a stronger reception. Reset the watch periodically to maintain accuracy. If the time display is incorrect, manually reset it following the manufacturer’s instructions. For persistent issues, consult the user manual or contact customer support. Regular maintenance and troubleshooting will keep your atomic wall clock functioning perfectly, providing you with reliable timekeeping for years to come.
FAQs About Atomic Wall Clocks
1. How does an atomic wall clock work?
💥It syncs with a national atomic clock signal for accurate timekeeping.
2. Why isn’t my atomic wall clock syncing?
💥Ensure it’s near a window for a strong signal, and check for obstructions.
3. How often should I replace the batteries?
💥Replace batteries every 12 to 18 months for uninterrupted operation.
4. Can I manually set the time?
💥Yes, referr to the user manual for specific instructions.
5. What if my clock displays the wrong time?
💥Reset the clock. If issues persist, consult the manual or contact customer support.
Conclusion
In conclusion, learning how to set an atomic wall clock ensures accurate and reliable timekeeping. By following simple steps like powering up, allowing automatic synchronization, and adjusting settings as needed, you can enjoy the precision of an atomic clock. Regular maintenance, such as replacing batteries and keeping the watch clean, helps maintain its performance. Troubleshooting common issues, like signal reception problems, can be easily managed with proper guidance. Whether setting up a new watch or recalibrating an existing one, mastering “How to Set an Atomic Wall Clock” enhances your timekeeping experience. Enjoy the convenience and accuracy of your atomic wall clock every day.