Setting a sharp atomic clock manually can seem challenging, but it’s straightforward with the right guidance. In this article, you’ll learn how to set a Sharp atomic clock manually to ensure precise timekeeping when the automatic signal isn’t available. We’ll cover everything from initial setup and proper positioning for optimal signal reception to detailed steps for manually adjusting the time, date, and other features. By following these clear instructions, you’ll keep your Sharp atomic clock accurate and reliable, ensuring it continues to provide you with the exact time you need. Master the process of setting your Sharp atomic clock manually and enjoy uninterrupted precision.
Getting to Know Your Sharp Atomic Clock
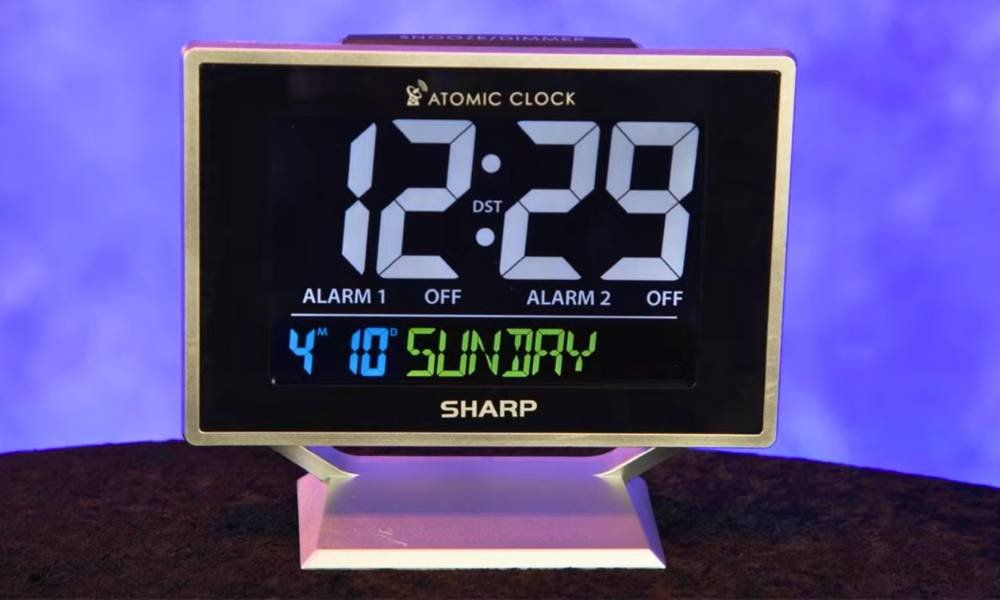
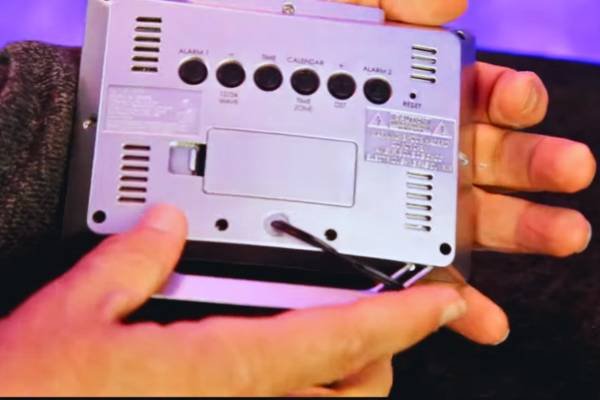
To set a Sharp atomic clock manually, it’s crucial to understand its key features and components. A Sharp atomic clock typically includes a digital display, time zone settings, and buttons for manual adjustments. The display shows the current time, date, and signal reception status. Familiarize yourself with the mode and set buttons, which are essential for navigating the settings. The time zone button allows you to select the correct region, ensuring accurate timekeeping. Additionally, some models feature an alarm function and backlight for easy viewing. Understanding these components will help you effectively manage and set your Sharp atomic clock manually, ensuring precise and reliable operation.
Preparing for Initial Setup
Preparing for the initial setup of your Sharp atomic clock is crucial for optimal performance. Start by carefully unboxing your clock, ensuring all components are present. Follow the step-by-step assembly instructions provided in the manual. Next, install the batteries by opening the battery compartment and inserting them according to the polarity markings. Ensure the watch is powered correctly by checking the display for any initial signals. Proper installation and power setup are essential for the watch to function accurately. By meticulously following these steps, you can set a solid foundation for your Sharp atomic clock to keep precise time.
Ensuring Proper Atomic Signal Reception
Ensuring proper atomic signal reception is crucial for maintaining the accuracy of your Sharp atomic clock. The atomic signal, transmitted from a national timekeeping center, synchronizes your watch to the precise atomic time. To optimize reception, place your watch near a window, away from electronic devices that might cause interference. Ensure it’s positioned with the front or back facing the direction of the signal transmitter. Avoid placing it in basements or metal-framed buildings where signals are weak. By following these tips, you’ll ensure your Sharp atomic clock receives the atomic signal efficiently, keeping your timekeeping perfectly accurate.
Step-by-Step Manual Time Setting
To set a Sharp atomic clock manually, start by accessing the manual setting mode. Press and hold the “Set” button until the display starts flashing. Use the “Up” and “Down” buttons to adjust the hour, ensuring AM/PM is correct. Press “Set” to move to minutes and adjust accordingly. Confirm by pressing “Set” again. This step-by-step guide ensures accurate manual time setting when the automatic signal is unavailable. Regularly checking and adjusting your watch can help maintain its precision, especially during time zone changes or Daylight Saving Time transitions. Follow these instructions to keep your Sharp atomic clock running flawlessly.
Setting the Date and Calendar
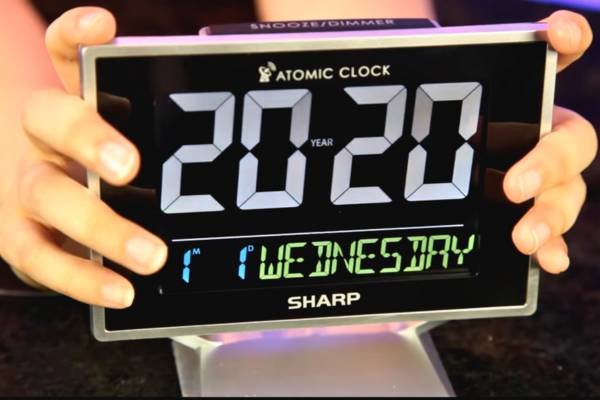
When setting the date and calendar on your Sharp atomic clock manually, start by navigating to the date setting mode. Once there, carefully enter the correct date, month, and year using the clock’s interface. It’s crucial to ensure accuracy in this step, as it directly impacts the watch’s overall functionality. With the date set correctly, your Sharp atomic clock can synchronize with precision, ensuring accurate timekeeping day after day. Take the time to input the correct date, and enjoy the seamless operation of your watch for enhanced time management and reliability.
Adjusting Additional Features
Adjusting additional features on your Sharp atomic clock enhances its functionality to suit your preferences. Set alarms effortlessly and personalize them according to your schedule and needs. With programmable features, you can tailor your watch to your lifestyle, ensuring it serves you efficiently. Furthermore, customize the display options to either the 12-hour or 24-hour format, depending on your preference and convenience. By mastering these adjustments, you optimize the usability of your Sharp atomic clock, ensuring it seamlessly integrates into your daily routine while providing accurate timekeeping.
Troubleshooting Common Issues
In troubleshooting common issues with manual settings for your Sharp atomic clock, identifying and rectifying problems swiftly is key. Ensure optimal signal reception by positioning your watch in an unobstructed area, away from electronic interference. If the time display appears inaccurate, double-check the manual setting process, ensuring each step is followed precisely. Additionally, consider replacing batteries if the watch shows signs of sluggishness or irregular operation. Regularly cleaning the clock’s exterior and keeping it away from extreme temperatures can also aid in maintaining signal reception and overall accuracy. With these tips, you’ll troubleshoot common issues effectively, keeping your Sharp atomic clock running smoothly.
Maintenance and Care
For longevity and precision, regular maintenance of your Sharp atomic clock is essential. Keep it running smoothly by following these simple tips. Firstly, ensure to replace the batteries periodically, as outlined in the manufacturer’s guidelines, to prevent any interruptions in operation. Additionally, consider environmental factors such as extreme temperatures or humidity levels, which can affect the clock’s performance. By taking these maintenance steps seriously, you’ll prolong the lifespan of your Sharp atomic clock and ensure it continues to provide you with accurate timekeeping for years to come.
Conclusion
In conclusion, mastering how to set a Sharp atomic clock manually is key to ensuring precise timekeeping in any situation. By following the steps outlined in this guide, you’ll be equipped to adjust your watch accurately and confidently, even when automatic synchronization isn’t possible. From initial setup to troubleshooting common issues, you’ve learned the essential steps to maintain your watches accuracy and reliability. Whether it’s adjusting for time zones or replacing batteries, these simple maintenance tasks will keep your Sharp atomic clock running smoothly for years to come. With this newfound knowledge, you’re empowered to take control of your timekeeping and enjoy uninterrupted precision whenever you need it.