Setting a digital clock might seem straightforward, but it’s a task that can easily become confusing without the right guidance. Whether you’re adjusting to a new time zone, fixing a power outage reset, or simply trying to synchronize your clock, knowing how to set a digital clock is essential. This article provides a comprehensive, step-by-step guide to ensure your clock displays the correct time. From understanding the basic functions to troubleshooting common issues, we’ve got you covered. Read on to master the art of setting your digital clock with ease and precision, making sure you’re always on time.
How to Set a Digital Clock: A Comprehensive Guide
- Identify the clock’s model and instructions: Check the user manual or manufacturer’s website for model-specific guidelines.
- Power the Clock: Ensure your clock is properly plugged in or has fresh batteries.
- Enter Setting Mode: Typically, this involves pressing and holding a ‘Set’ or ‘Mode’ button.
- Adjust the Time: Use the designated buttons to set the correct hour and minutes.
- Confirm and Save Settings: Press the ‘Set’ or ‘Mode’ button again to confirm the time.
- Set Additional Features: Configure alarm, date, or other features as needed.
- Verify Accuracy: Double-check the time after setting and make any necessary adjustments.
Types of Digital Clocks
Digital clocks are integral to our daily lives, manifesting in various forms to suit different needs. Standalone digital clocks are the most traditional, designed solely for timekeeping and often featuring alarm functionalities. Appliance clocks, embedded in devices like microwaves and ovens, combine basic time-telling with operational timers critical for cooking processes. Smart device watches, found in gadgets like smartphones and smart speakers, offer the most versatility with features that integrate with other technology in your home. Each type of digital clock has unique setup procedures, reflecting their varied functionalities. Understanding these differences is key to effectively managing and utilizing these devices to their full potential.
Basic Components of a Digital Clock

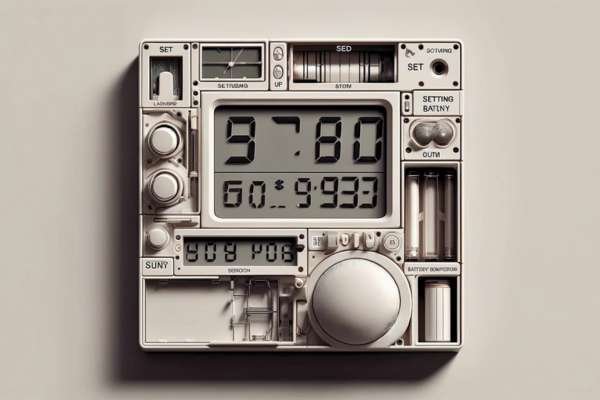
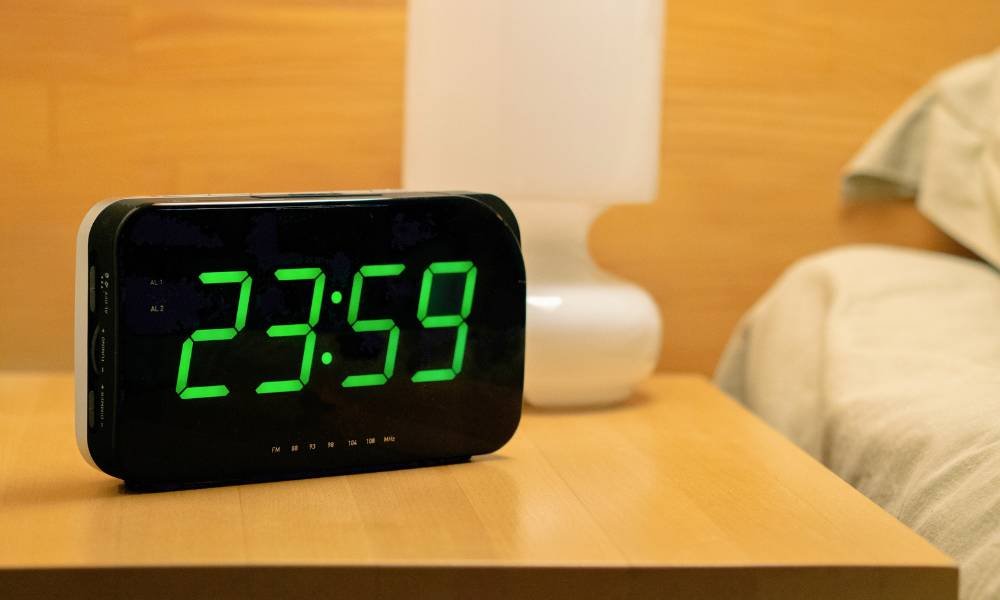
Understanding the basic components of a digital clock is essential for efficient operation and troubleshooting. The primary elements include the display, which shows the time and sometimes the date; buttons such as’set’, ‘up’, and ‘down’ that facilitate adjustments; and a power source, which could be a battery or a direct electrical connection. Many digital clocks also incorporate additional features to enhance their functionality. These might include a built-in radio or alarm function, allowing the watch to serve multiple purposes beyond just timekeeping. Familiarizing yourself with these components and their operations can significantly simplify the process of setting and using your digital clock effectively.
Preparation Before Setting the Clock
Before setting your digital clock, it’s essential to ensure it’s ready for configuration. Start by checking the power source. If your watch is battery-operated, verify that the batteries are fresh and installed correctly. For clocks that use electrical power, make sure the cord is securely plugged into a working outlet. Next, confirm the functionality of the watch by consulting the manufacturer’s instructions. This document often contains crucial information on the clock’s features and troubleshooting tips. Properly preparing your watch by verifying these elements can prevent issues during the setting process and enhance the overall reliability of your device.
Step-by-Step Setting the Time

Setting the time on your digital clock is a straightforward process that can be accomplished in a few simple steps. First, locate the ‘Set’ or ‘Time’ button, typically found on the back or side of the watch. Press and hold this button until the display begins to blink, indicating that you have entered the time-setting mode. Use the ‘Up’ or ‘Down’ buttons to adjust the hours; for clocks with AM/PM functionality, continue pressing until the correct period is displayed. Repeat the process for a few minutes. To finalize the setting, press the ‘Set’ button again or, in some models, simply wait for the display to stop blinking. This will save your settings and exit the setting mode, ensuring the time is set accurately on your digital clock.
Setting Alarms (If Applicable)
Setting alarms on a digital clock is a simple process that can help manage your schedule effectively. First, access the alarm function, typically by pressing a button labeled ‘Alarm’ or ‘Set.’ To set the alarm time, use the ‘Hour’ and ‘Minute’ buttons to adjust to your desired time. Choosing the right alarm tone and volume is crucial; select a tone that is pleasant yet effective enough to wake you. Most digital clocks allow you to test and adjust the volume as needed. Additionally, if your watch has a snooze feature, familiarize yourself with activating it—usually done by pressing a ‘Snooze’ button. This feature can provide extra minutes of rest without completely disabling the alarm.
Troubleshooting Common Issues
When encountering issues with a digital clock, effective troubleshooting can quickly resolve common problems. A frequent issue is a blinking or incorrect time display, often fixed by resetting the watch or adjusting the settings according to the user manual. If your digital clock does not respond to button presses, a simple unplug or battery replacement can often restore functionality. Persistent issues, however, may require a factory reset—a process usually detailed in the product’s manual. Should these steps fail to rectify the problem, it’s advisable to contact customer support for professional assistance. This ensures your digital watch remains accurate and functional, providing reliable timekeeping.
Maintenance and Care for Digital Clocks

Maintaining your digital clock ensures it continues to function accurately and lasts longer. Regular cleaning involves gently wiping the display and buttons with a soft, dry cloth to prevent dust accumulation, which can interfere with button functionality. For clocks exposed to more grime, use a slightly dampened cloth with mild soap, avoiding any moisture entering the device. Regular battery checks are crucial, especially for clocks without a direct power supply. Replace batteries annually or as soon as you notice any decline in performance. Always refer to the manufacturer’s guidelines for specific maintenance tips and recommended battery types to ensure optimal performance and avoid damage to your watch.
FAQs for How to Set a Digital Clock
1. What if my clock doesn’t have a ‘Set’ button?
✅Check for buttons labeled ‘Mode’ or ‘Time’ and refer to the user manual for specifics.
2. How do I reset my clock after a power outage?
✅Follow the same steps as setting the time, starting with entering the setting mode.
3. Why is my clock showing the wrong time after setting it?
✅Ensure AM/PM settings are correct and adjust for daylight saving time if needed.
4. How can I set the alarm on my clock?
✅Enter alarm mode, set the desired time, and confirm.
5. Can I set my clock without a manual?
✅Use the ‘Set,’ ‘Mode,’ ‘Hour,’ and ‘Minute’ buttons in sequence. Online searches for your clock model can also help.
Conclusion
In conclusion, mastering how to set a digital clock ensures you stay on time and organized in your daily life. With these simple steps, you can easily adjust your clock, whether dealing with a new device, a power outage, or Daylight Saving Time. Remember, understanding your specific clock model and following the instructions carefully will make the process seamless. By keeping your digital clock accurate, you enhance your punctuality and efficiency. Implement these tips, and never worry about a misaligned schedule again. Stay on top of your time management by confidently knowing how to set a digital clock.
